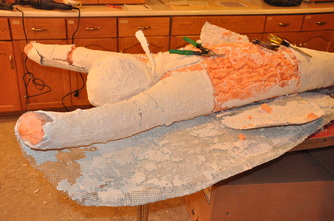
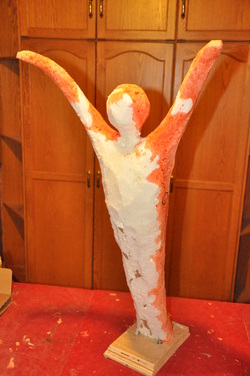
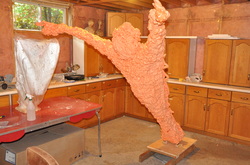
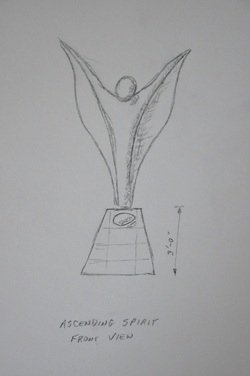
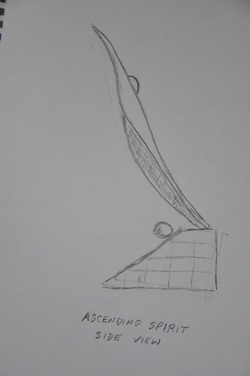
Unfortunately the sculpture didn't loose enough weight drying out. It's still over a hundred pounds and will weigh over two hundred when finished, making it too heavy for frequent moves. Reluctantly I decided to reduce it from 7' long down to 5' long.

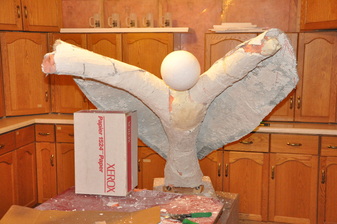
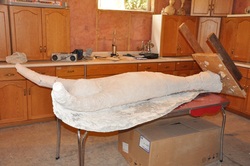
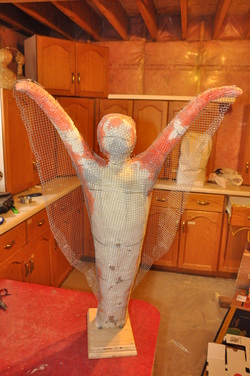
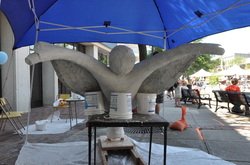
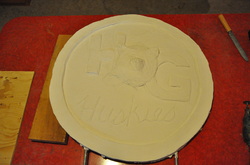
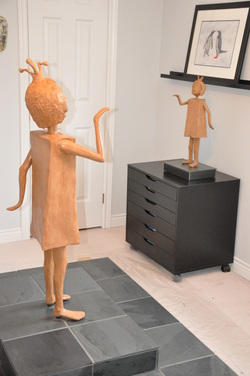
I cut about 6" from each wing tip and 1'-6" out of the torso. The top piece was about a foot wider than the bottom which prevented me from simply attaching them together. Instead I had to cut a foot out from between the arms and move the two arms together. This meant the head was gone. No worries, it was too large for the 5' sculpture anyway. I found a Styrofoam ball the right size and attached that to a threaded rod wedged between the two arms. This is what it looked like when in pieces: base, arms, wings and head.

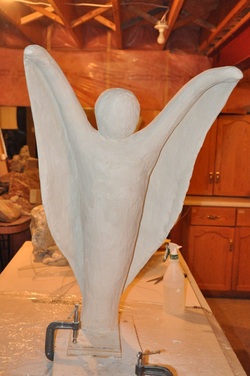
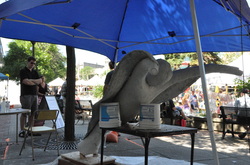
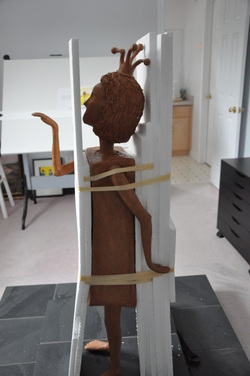
After sliding cardboard spacers under each piece to create proper alignment I wired and taped the pieces in place and sprayed the gaps full of foam then let it dry.
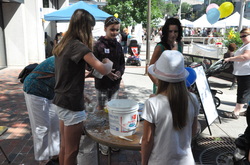
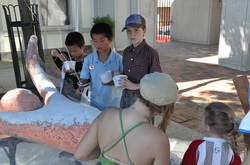
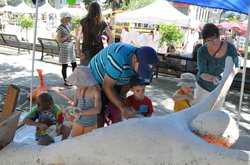
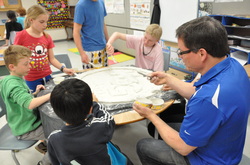
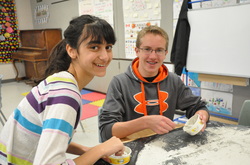
With a sharp knife I carved off the excess foam. Next I covered the new foam with wire mesh. Now it's ready to solicit volunteers to help applying more Winterstone clay. Let me know if you're interested in stopping by to apply a couple cups of clay.


 RSS Feed
